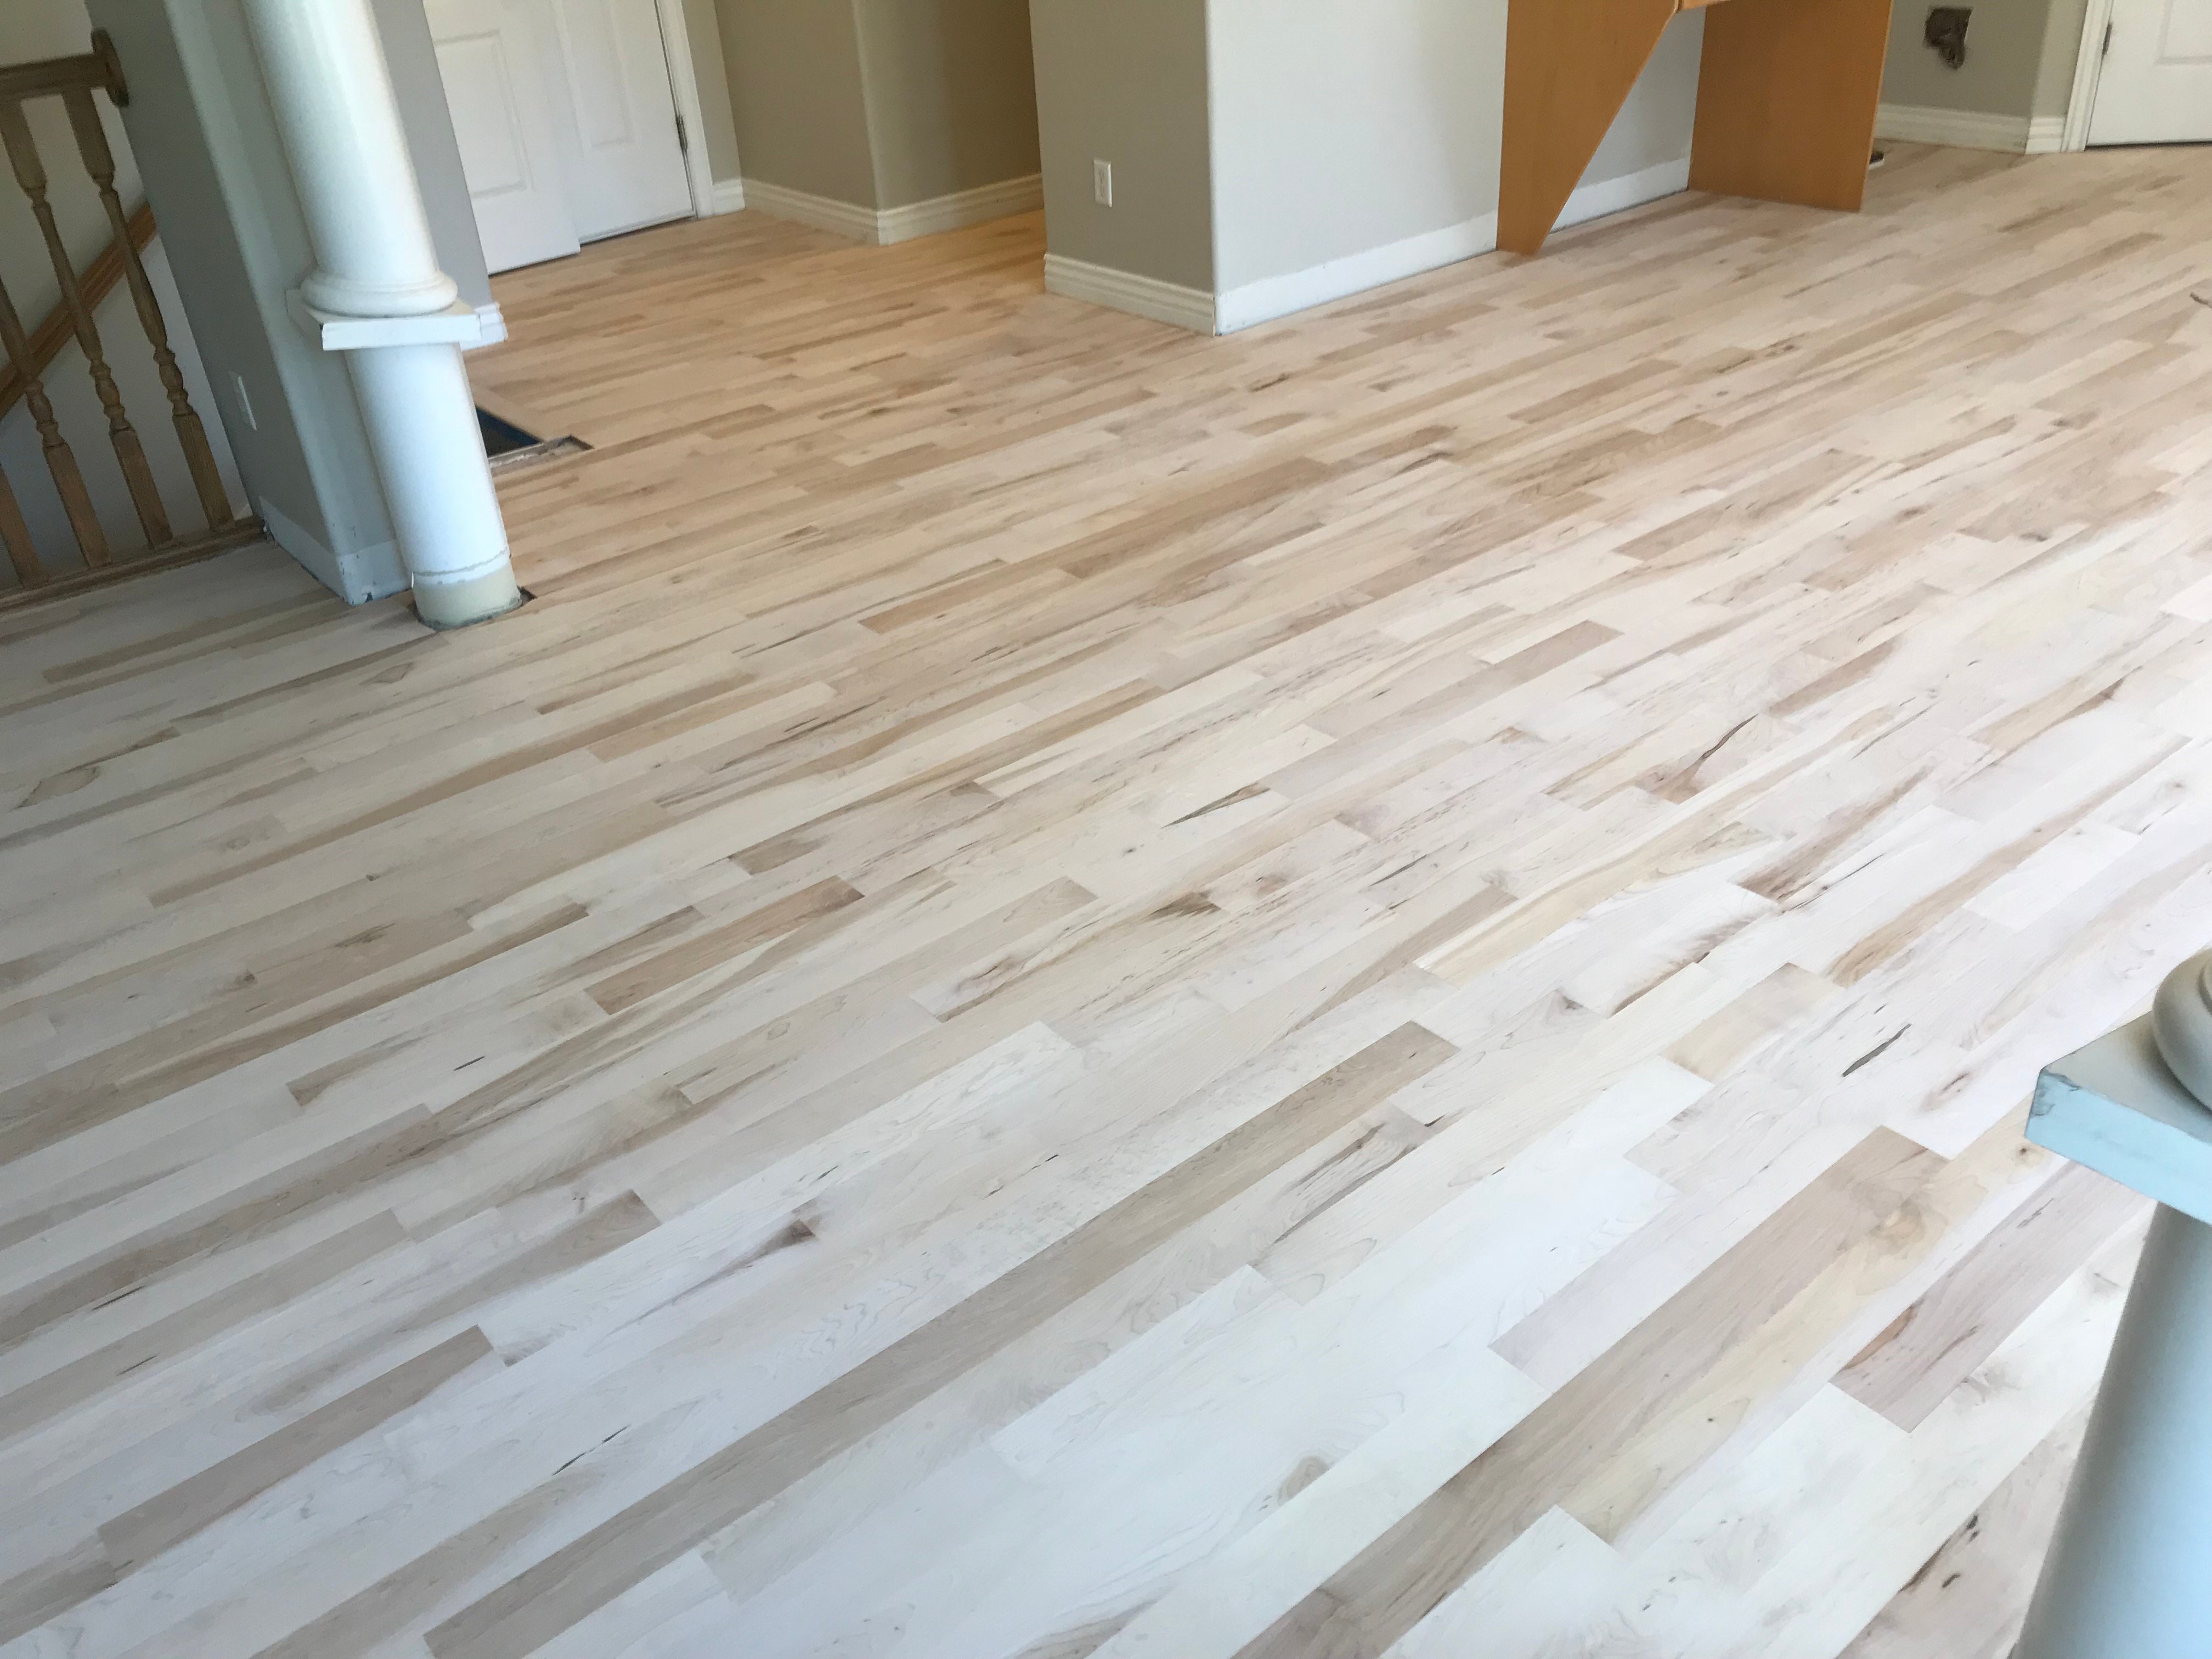
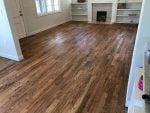
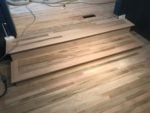
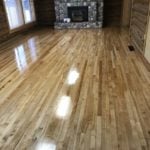
Before even looking for a company to tackle refinishing your hardwood floor, you probably would like to know what steps are taken to achieve a professional look and a 5-star experience. Not all hardwood floor companies are equal or even work with comparable products or materials. Do your own due diligence and research the products out there to make sure the company you hire to do your wood floor refinishing offers the type of services and products you want.
STEP 1: Removal of the old finish
All quality companies will own a large sander with a dust containment system (vacuum). This reduces greatly the amount of dust that will be left in your home during the sanding process of your solid wood. They will also use a hand sander around the perimeter of the room and in difficult or small areas.
Although all steps are important, doing this first step right is crucial. If the floor hasn’t been properly and completely sanded, the stain and finish will not adhere correctly. In addition, once the finish has been applied, deep scratches, lines, swirls, etc., made by a novice sander will bear its ugly head for all to see. Although homeowners can rent sander for a DIY project, sometimes it’s just best to let the professionals handle it.
Many pre-finished floors like engineered wood will have an Aluminum Oxide finish. Removing this type of finish usually takes three times longer than a regular finish. A qualified flooring expert will immediately know if your finish is Aluminum Oxide, and will bid your project accordingly.
STEP 2: Staining the floor
If you are going with a natural floor, then this step is skipped.
If you are trying to achieve the same look as your old floor, your hardwood specialist will be able to tell what color stain was used originally and can usually achieve the same color. Keep in mind, many floor stain colors dull or diminish over time. This happens particularly where the floor has seen direct sunlight for several hours each day. This is called “ghosting”. If ghosting has occurred (or because of other factors), the same color may not be matched exactly, but will be close.
If you are ready for a change and want a different color, your flooring professional will be able to stain a small section of your current floor so you can compare your top choices.
If you have harder wood (such as maple or hickory) and you want a dark stain, your flooring specialist will want to “water pop” your floor prior to staining. Water popping is the process of spraying the wood lightly with water to allow the grain of the wood to open up. This will allow the wood grain to accept the stain easier and provide a much more consistent and uniform color. This is usually an additional cost and your flooring contractor will bid it accordingly.
We like Bona brand stains. They are easy to apply and give consistent and quality results every time. Occasionally, we will use Duraseal if a client is looking for a specific color only offered in this line. However, we have found Duraseal to have inconsistent coloring and sometimes start lapping when used with darker stains in large areas.
Step 3: Applying the Finish Coats
Floor finish is very flammable. Your hardwood flooring professional will need to extinguish all pilot lights, including oven and furnace, before applying the finish. They usually also request the pilot lights be left off for 24 hours after applying the finish.
Finish is also very chemically potent and will sting the eyes and offend the nose. Your flooring professional will open the windows to allow maximum ventilation during and after applying the finish. You will want to consider having your hardwood sanded and refinished while you are on vacation, or consider staying at a hotel or relative’s home during the finish application.
There are many types of finishes available that professionals use every day. The type used is usually determined by the company applying the finish. We have our favorites and we’ll explain why.
Acid-Based Finishes
We love Glitza Satin Multikote finish. This finish is acid-based and we normally apply two coats. The client can also opt for a third coat, if desired. This finish brings out the beauty of the wood grain, is fast drying and self-sealing. We recommend the satin finish and use it for most of our residential projects. However, if the client wants a glossier commercial look, a gloss and semi-gloss option is also available.
Water-Born Finishes
If you have kids and/or dogs, our other favorite is the Traffic Finish by Bona. This is a water-borne finish meant to withstand commercial traffic. It helps resist wear and tear from dog nail scratches and other sharp items over time. We usually apply two coats, but a third can be requested.
Oil-Based Finishes
We never use oil-based finishes. These finishes are cheap, both in cost and quality. They do not hold up over time. You’ve spent (or are planning to spend) a great amount refinishing your hardwood floor. If taken care of, this refinish will last the homeowner at least eight years. Don’t allow a cheap finish to be applied and cut that time in half. Many hardwood flooring companies offer the oil-based finish because it is cheap and they are probably hoping you will have to come back to them for an additional re-coat or full refinish sooner than you should. When receiving a bid, ask what type of finish they use so you can make an informed decision.
In conclusion, for the best experience sanding and refinishing your hardwood floor in Utah, make sure your hardwood flooring expert has a dust containment system and is experienced in properly sanding a hardwood floor. Talk about your choice of stain and make sure they are willing to show you stain choices in your home. Ask them to confirm they apply only the best finishes available, so you can rest assured your refinishing project will last and last. And lastly, take care of your hardwood floor with the best floor cleaner available to keep that “new floor look” for years to come.
Would you like us to come give you a bid to sand and refinish your hardwood floor? Fill out the Bid Request Form or give us a call!
